Mastering Feature Flags in Laravel 10 with Laravel Pennant
Feature flags are a powerful technique for managing the release of new features in software development. They allow developers to enable or disable features in an application without deploying new code. This is crucial for gradual rollouts, A/B testing, and quick rollbacks if something goes wrong. Laravel Pennant is a package that simplifies the implementation of feature flags in Laravel applications, making it easier to manage features dynamically.
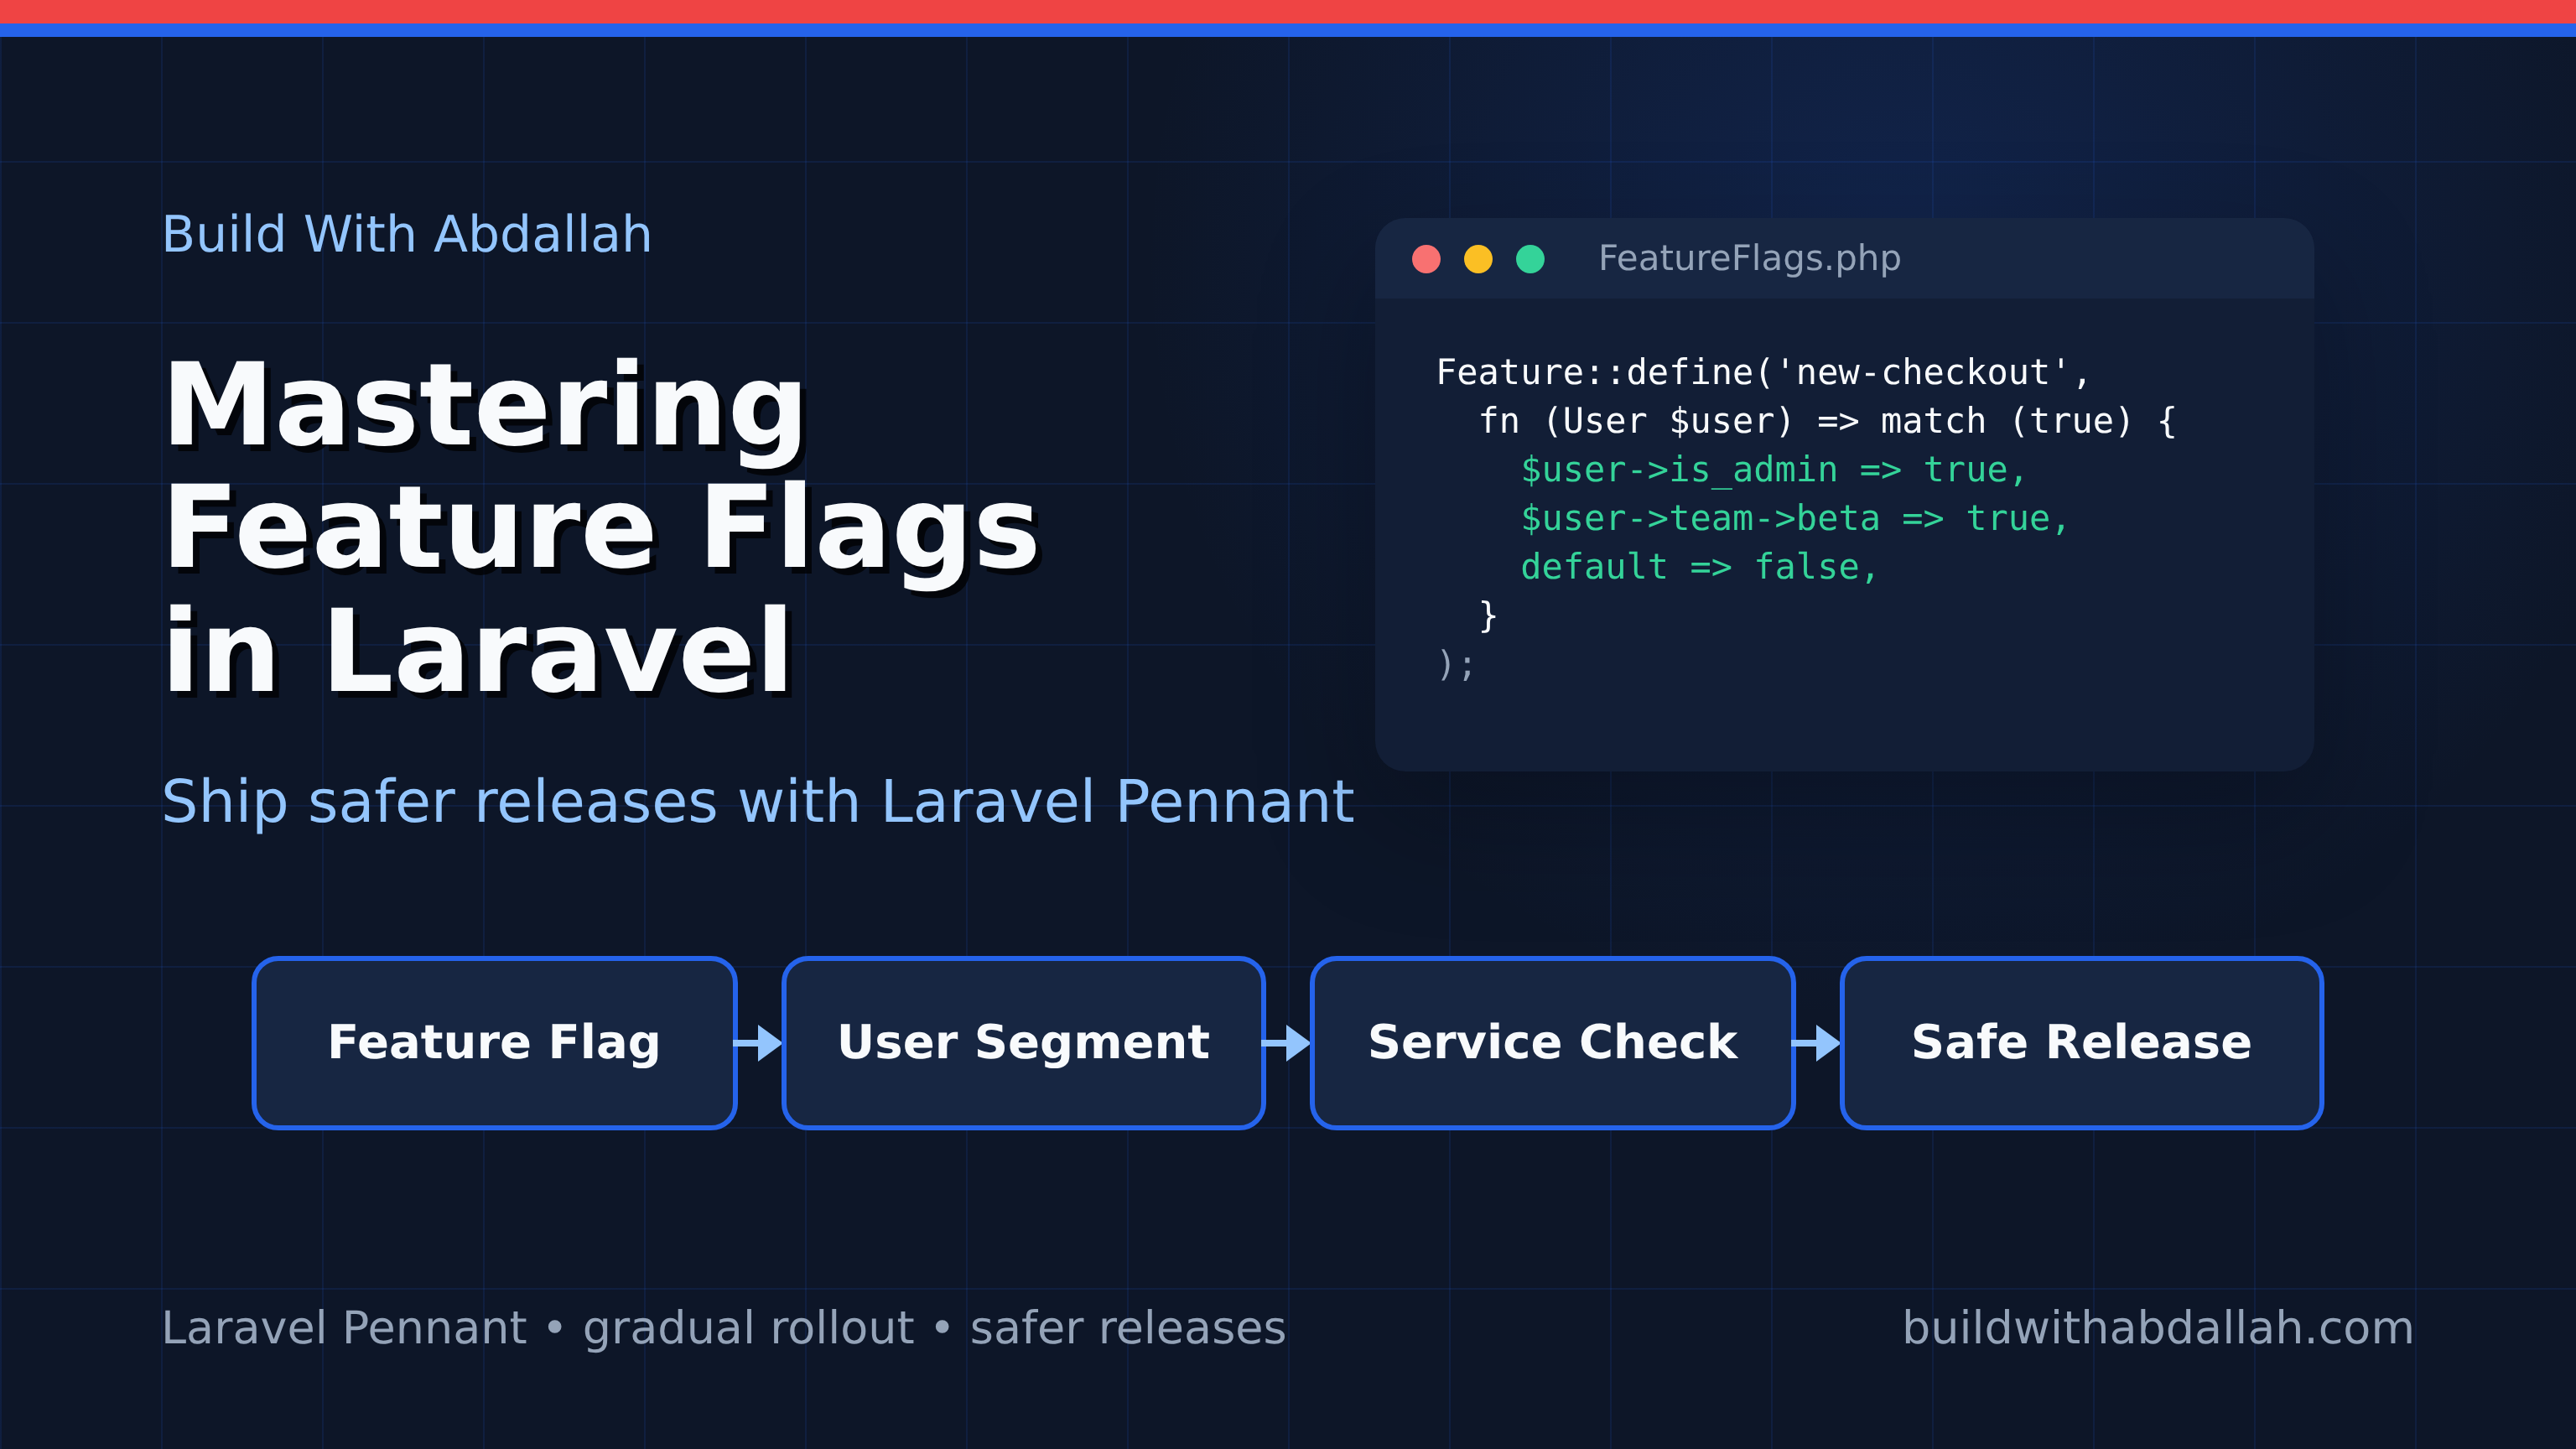
In this tutorial, we will explore how to use Laravel Pennant to implement feature flags in a Laravel 10 application. By the end, you will be able to control feature access dynamically and improve your deployment process.
Prerequisites
Before we start, ensure you have the following installed on your machine:
- PHP 8.1 or higher
- Composer
- Laravel 10
- Node.js & npm (for frontend assets)
You can install Laravel 10 via Composer with the following command:
composer create-project laravel/laravel feature-flags-example
Navigate into the project directory:
cd feature-flags-example
Install Laravel Pennant using Composer:
composer require laravel/pennant
Project Structure
Once you have installed Laravel and Laravel Pennant, your project structure should look like this:
feature-flags-example/
├── app/
├── bootstrap/
├── config/
│   ├── pennant.php
├── database/
├── public/
├── resources/
├── routes/
│   ├── web.php
├── storage/
├── tests/
├── vendor/
├── .env
└── composer.json
Step 1: Setting Up Laravel Pennant
First, we need to publish the configuration file for Laravel Pennant. This will allow us to customize its behavior as needed.
Run the following command to publish the configuration file:
php artisan vendor:publish --tag=pennant-config
This will create a pennant.php file in the config directory. Open this file to review the default settings. It contains options for storage and drivers that control how feature flags are managed.
Step 2: Defining Feature Flags
Let's define a feature flag in our application. We'll create a simple feature flag to control access to a new dashboard.
Open the routes/web.php file and add the following code:
use Illuminate\Support\Facades\Route;
use Laravel\Pennant\Feature;

Route::get('/dashboard', function () {
    if (Feature::active('new-dashboard')) {
        return view('new-dashboard');
    }

    return view('old-dashboard');
});
In this code, we use the Feature::active() method to check if the new-dashboard feature is enabled. If it is, we display the new-dashboard view; otherwise, we show the old-dashboard view.
Step 3: Managing Feature Flags
Now, let's see how we can enable or disable the new-dashboard feature flag. We can do this from the command line using Artisan commands.
To enable the new-dashboard feature, run:
php artisan pennant:enable new-dashboard
To disable the new-dashboard feature, use:
php artisan pennant:disable new-dashboard
These commands modify the current state of the feature flag, allowing you to control feature access without changing any code.
To verify the status of your feature flags, you can use:
php artisan pennant:status
This command will list all defined feature flags and their current states.
In this step, we have successfully managed our feature flags using Artisan commands, providing a flexible way to control feature availability in a Laravel application.
```markdown
## Step 4: Creating a Custom Feature Driver

Laravel Pennant allows you to define custom feature drivers if you need more control over how feature flags are stored or evaluated. Let's create a custom feature driver that stores feature flags in a JSON file.

First, create a new directory for our custom driver:

```bash
mkdir app/FeatureDrivers
Create a new PHP file for the driver:
touch app/FeatureDrivers/JsonFeatureDriver.php
Open JsonFeatureDriver.php and add the following code:
<?php

namespace App\FeatureDrivers;

use Laravel\Pennant\Contracts\Driver;

class JsonFeatureDriver implements Driver
{
    protected $path;

    public function __construct()
    {
        $this->path = storage_path('app/features.json');
    }

    public function get($feature, $scope)
    {
        $features = $this->loadFeatures();
        return $features[$feature] ?? false;
    }

    public function set($feature, $scope, $value)
    {
        $features = $this->loadFeatures();
        $features[$feature] = $value;
        $this->saveFeatures($features);
    }

    protected function loadFeatures()
    {
        if (!file_exists($this->path)) {
            return [];
        }

        return json_decode(file_get_contents($this->path), true) ?? [];
    }

    protected function saveFeatures(array $features)
    {
        file_put_contents($this->path, json_encode($features));
    }
}
Next, register this driver in config/pennant.php:
'driver' => env('PENNANT_DRIVER', 'json'),

'drivers' => [
    'json' => [
        'driver' => App\FeatureDrivers\JsonFeatureDriver::class,
    ],
],
This configuration tells Laravel Pennant to use the JsonFeatureDriver for managing feature flags.
Step 5: Testing Feature Flags
To ensure our feature flags work as expected, let's write a simple test. Open the tests/Feature/ExampleTest.php file and add the following test:
<?php

namespace Tests\Feature;

use Tests\TestCase;
use Laravel\Pennant\Feature;

class FeatureFlagTest extends TestCase
{
    public function test_new_dashboard_feature_flag()
    {
        Feature::set('new-dashboard', true);

        $response = $this->get('/dashboard');

        $response->assertViewIs('new-dashboard');

        Feature::set('new-dashboard', false);

        $response = $this->get('/dashboard');

        $response->assertViewIs('old-dashboard');
    }
}
Run the test using PHPUnit:
php artisan test
This test verifies that the correct view is returned based on the state of the new-dashboard feature flag.
Complete Working Example
Here is a summary of the key files and their contents:
routes/web.php
use Illuminate\Support\Facades\Route;
use Laravel\Pennant\Feature;

Route::get('/dashboard', function () {
    if (Feature::active('new-dashboard')) {
        return view('new-dashboard');
    }

    return view('old-dashboard');
});
app/FeatureDrivers/JsonFeatureDriver.php
<?php

namespace App\FeatureDrivers;

use Laravel\Pennant\Contracts\Driver;

class JsonFeatureDriver implements Driver
{
    protected $path;

    public function __construct()
    {
        $this->path = storage_path('app/features.json');
    }

    public function get($feature, $scope)
    {
        $features = $this->loadFeatures();
        return $features[$feature] ?? false;
    }

    public function set($feature, $scope, $value)
    {
        $features = $this->loadFeatures();
        $features[$feature] = $value;
        $this->saveFeatures($features);
    }

    protected function loadFeatures()
    {
        if (!file_exists($this->path)) {
            return [];
        }

        return json_decode(file_get_contents($this->path), true) ?? [];
    }

    protected function saveFeatures(array $features)
    {
        file_put_contents($this->path, json_encode($features));
    }
}
config/pennant.php
'driver' => env('PENNANT_DRIVER', 'json'),

'drivers' => [
    'json' => [
        'driver' => App\FeatureDrivers\JsonFeatureDriver::class,
    ],
],
Common Errors and Fixes
-
Error: "Class 'App\FeatureDrivers\JsonFeatureDriver' not found"
- Fix: Ensure the namespace and class name in
JsonFeatureDriver.phpmatch the reference inconfig/pennant.php.
- Fix: Ensure the namespace and class name in
-
Error: "Call to undefined method Laravel\Pennant\Feature::set()"
- Fix: Check that you are using the correct namespace and that Laravel Pennant is properly installed.
-
Error: "File not found" for
features.json- Fix: Ensure the
storage/appdirectory is writable, or create thefeatures.jsonfile manually.
- Fix: Ensure the
Conclusion
In this tutorial, we explored how to implement feature flags in a Laravel 10 application using Laravel Pennant. We covered setting up the package, defining feature flags, managing them via Artisan commands, creating a custom driver, and testing the implementation. Feature flags are a valuable tool for managing feature rollouts and improving deployment strategies.
Sources
- Laravel Pennant Documentation: https://laravel.com/docs/10.x/pennant
- Laravel Documentation: https://laravel.com/docs/10.x